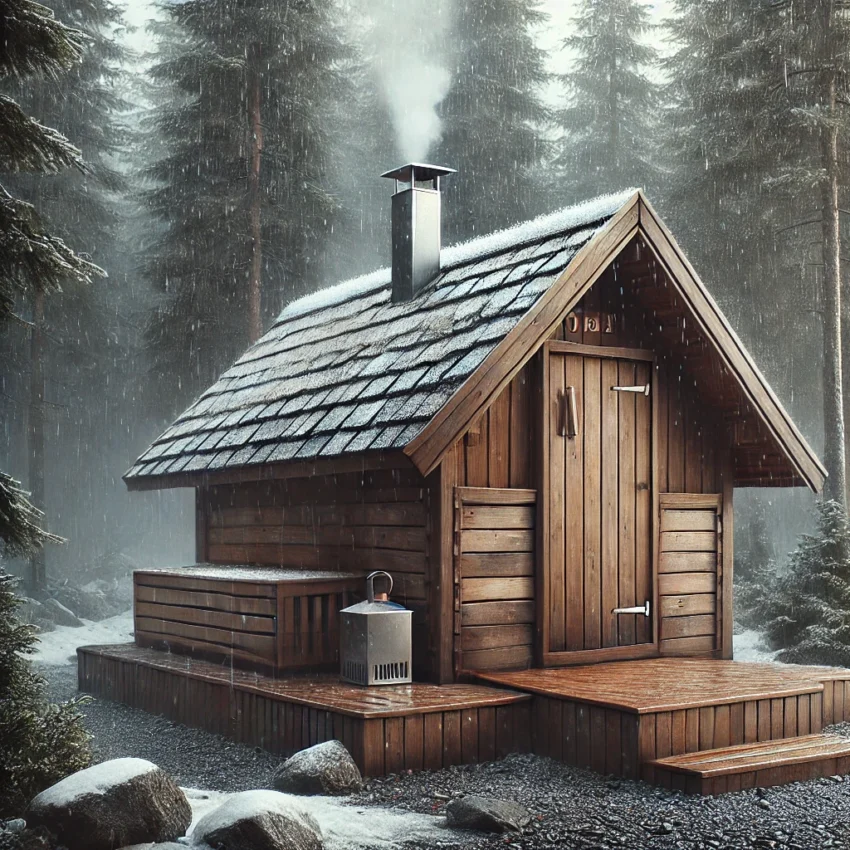
Outdoor saunas offer a unique and immersive wellness experience, especially when combined with natural surroundings and cold exposure. However, being exposed to the elements—rain, snow, wind, UV radiation, and humidity—poses significant challenges to your sauna’s durability and performance.
Without proper weatherproofing, an outdoor sauna is vulnerable to:
- Wood rot and warping
- Heat loss and poor insulation
- Mold and mildew
- Structural deterioration
This article outlines the best practices for weatherproofing your outdoor sauna, ensuring it remains efficient, safe, and structurally sound for decades.
1. Choose Weather-Resistant Materials from the Start
The foundation of weatherproofing begins with the materials you select:
Exterior Wood:
- Use naturally weather-resistant species like:
- Western Red Cedar
- Thermally treated Aspen or Pine
- Siberian Larch
- These woods resist decay, shrinkage, and fungal growth.
Treatment:
- Apply exterior wood sealant that is:
- UV-resistant
- Breathable (allows moisture to escape)
- Water-repellent but not waxy (to preserve breathability)
- Re-treat every 12–24 months, depending on climate exposure.
2. Elevate the Structure Off the Ground
Moisture from soil and snow is one of the most common sources of long-term wood damage.
Best Practices:
- Build on a concrete slab, decking platform, or stone base
- Ensure a minimum 6-inch clearance from ground to base of wood panels
- Install drainage channels or gravel beds to divert standing water
This prevents capillary water absorption and improves long-term structural stability.
3. Roof Design Is Critical
The roof takes the brunt of all weather exposure and must be designed for effective water and snow shedding.
Recommended Designs:
- Sloped or gabled roofs with minimum 4/12 pitch (4-inch rise per 12-inch run)
- Overhang of at least 6–12 inches to shield sidewalls from rain
- Use of asphalt shingles, metal roofing, or EPDM rubber membranes for waterproofing
Don’t use flat or shallow-pitched roofs in regions with snow or heavy rain.
4. Seal Windows, Doors, and Joints
Water intrusion often occurs at seams, doors, or poorly sealed edges.
Solutions:
- Install weatherstripping around doors
- Use silicone-based outdoor-grade caulk for all seams
- Ensure double-pane tempered glass windows with insulated frames
- Apply door sweeps or thresholds to prevent splash-up water ingress
These measures also enhance thermal efficiency, reducing energy waste.
5. Insulation and Vapor Barriers for Year-Round Use
For saunas in variable or cold climates, insulation preserves heat and prevents condensation inside walls.
Recommended Layers:
- Mineral wool or foil-faced fiberglass in walls and ceilings (R-13–R-19)
- A foil vapor barrier (aluminum or Mylar) to reflect heat inward
- Use tape-sealed overlaps to ensure airtight thermal envelopes
Proper insulation keeps your sauna energy-efficient and prevents internal moisture buildup—a key contributor to long-term rot and mold.
6. Ventilation Keeps Moisture in Check
A well-designed ventilation system prevents excess condensation and maintains air quality.
Ventilation Guidelines:
- Install intake vents near the heater (~4–6 inches off the floor)
- Exhaust vent near the ceiling on the opposite wall
- Passive cross-ventilation design improves air circulation
- Consider operable louvers or soffit vents in humid climates
After each use, open the door and vents to fully dry out the interior.
7. Add Protective Exterior Elements
Enhance weather protection with add-on structures and finishes:
- Sauna overhangs or rain screens to shield walls
- Protective pergolas or lean-tos for snow load and sun exposure
- Exterior cladding (e.g., vertical wood battens) for water deflection
- Gutter systems to direct runoff away from foundation
In snow-prone regions, keep snow loads cleared off the roof and install ice guards to protect shingles and flashing.
8. Regular Maintenance Schedule
Preventive maintenance is the most cost-effective form of weatherproofing.
Monthly:
- Check for pooling water, leaks, and clogged vents
- Clean exterior surfaces with a soft brush or cloth
Quarterly:
- Inspect roof flashing and sealants for cracks or gaps
- Re-tighten bolts or fasteners affected by expansion/contraction
Annually:
- Re-apply sealant or oil-based stain to exterior wood
- Clean chimney or stove exhaust (for wood-burning units)
- Inspect insulation and vapor barrier integrity
9. Winterization for Cold Climates
If not using the sauna during winter months:
- Drain all water sources (if plumbed)
- Unplug or shut off power to prevent energy use or hazard
- Cover exterior with a breathable waterproof tarp (not plastic sheeting)
- Consider installing a small heat lamp or desiccant inside to control moisture
For year-round use, ensure your insulation and heater are rated for sub-freezing conditions.
Conclusion: Long-Term Sauna Wellness Begins with Weatherproofing
A well-designed and maintained outdoor sauna can withstand decades of seasonal exposure with minimal degradation. Proper material selection, structural planning, and moisture control are non-negotiable for longevity. By weatherproofing from day one—and following a regular maintenance routine—you’ll ensure your outdoor sauna remains a place of comfort, not concern.
Whether nestled in a backyard, on a lakeside deck, or at a remote cabin, your sauna should be built to endure the elements while supporting your wellness journey year-round.
